Blog
Your store comes with its own blog by default. You may post articles on your blog through the CMS option on the navigation bar of your admin panel, specifically through the Blog posts content group. Existing blog posts can be edited and deleted as well.
To Add a New Blog Post
To Edit an Existing Blog Post
To Delete an Existing Blog Post
To Add a New Blog Post##
- On the Manage content page, click Blog posts.
- Click Add a Blog post.
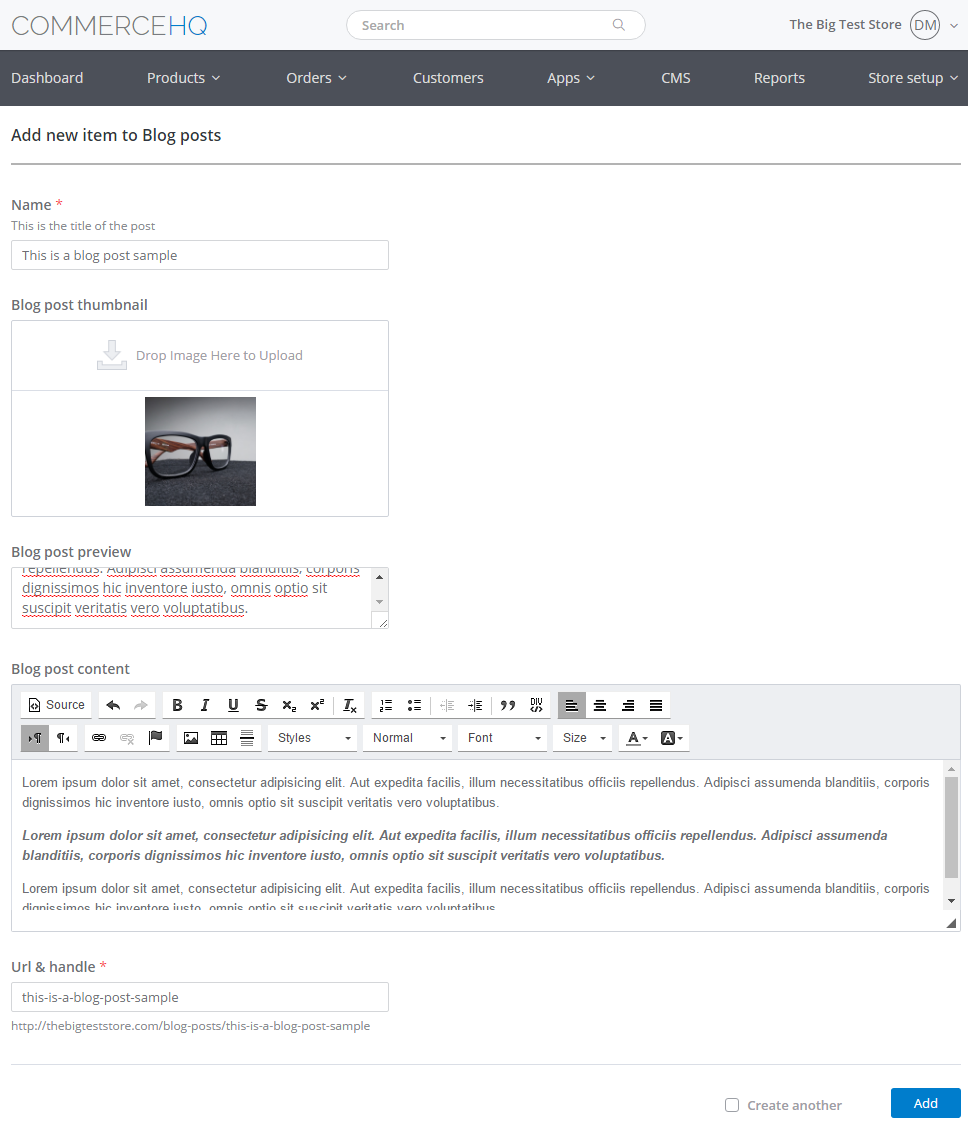
- On the Add new item to Blog posts page, on the Name box, enter the title for the new blog post.

Required fields are denoted by an asterisk (*)
- Drag and drop a JPG, GIF or PNG file into the Blog post thumbnail image drop area. Alternatively,click the Upload button, then select and upload an image file from your computer. The blog post thumbnail is displayed to the left of the post on your blog.
- On the Blog post preview box, enter a summary for the blog post.
- Enter the blog post on the Blog post content box with the help of the rich text editor. You may even use HTML to format and lay out the blog post.
- By default, the URL & handle for the blog post is taken from the title entered in Step 3 above. You have the option to change the URL and handle for the blog post.
- To create another blog post after adding the new one, check the Create another box on the lower left, then click Add. Otherwise, just click Add. The new blog post is then added to your store's blog, making it available to your customers.
To Edit an Existing Blog Post###
- On the Manage content page, click Blog posts.
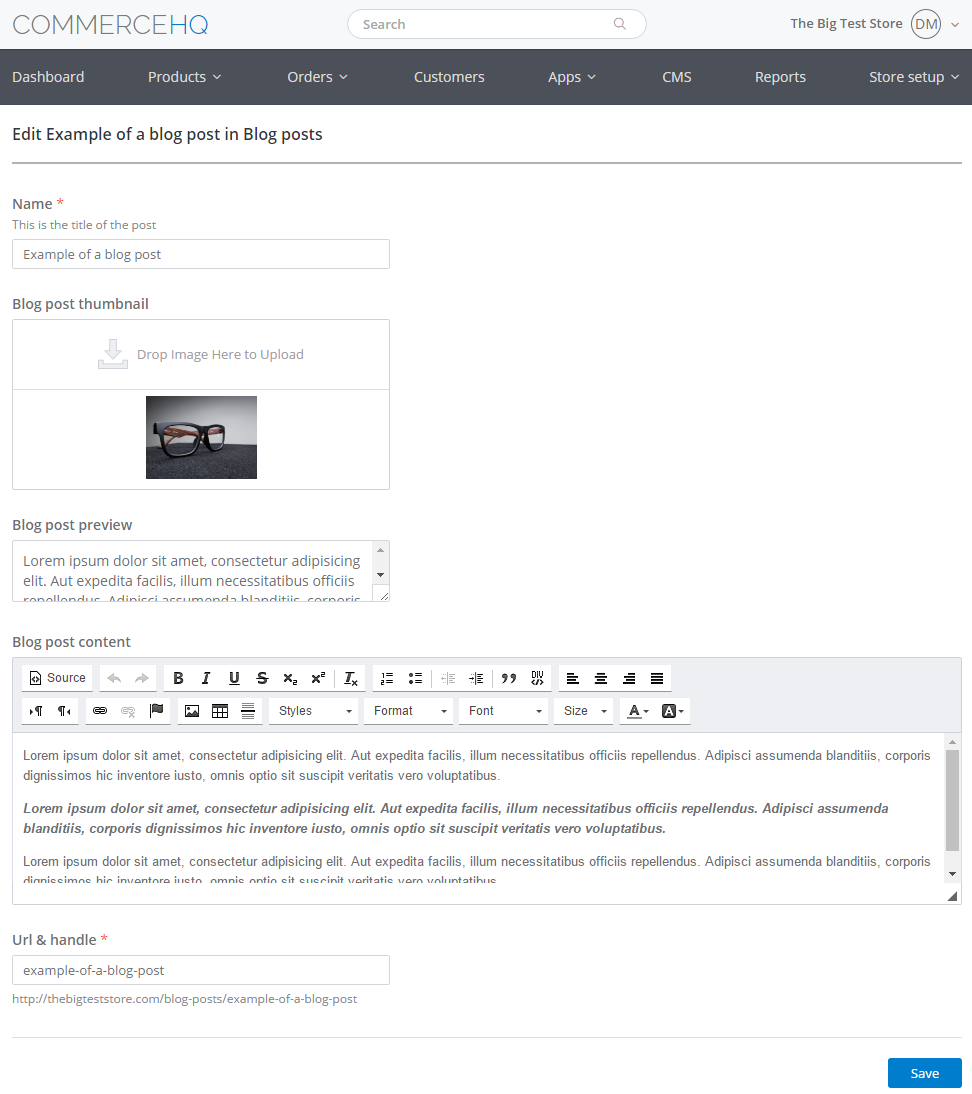
- Look for the blog post to be edited, then click the Edit link to the right.
- Edit the blog post, then click Save.

Edit the blog post, then click Save
To Delete an Existing Blog Post###
- On the Manage content page, click Blog posts.
- Look for the blog post to be deleted, then click the Delete button to the right.
Updated over 6 years ago
