Checkout settings
Setting Up Your Store's Checkout Page
The Checkout Settings page, which is accessible from Store setup>Checkout page on your Admin panel, is where the checkout page on your front-end store is set up.
Your store's Checkout Page is where customer contact info, shipping info, and payment for purchases made on your store are collected. The actual Checkout Page is displayed to customers when they purchased something from your store.
To Set Up the Checkout Page
- On your Admin panel, click Store setup>Checkout page.
- On the Checkout Settings page, on the topmost section, select from any of the four options for your checkout procedure. Each step on the four options is split by a Continue button and breaks up the checkout process into chunks.
For example, in the case of the 4-Steps Checkout process, there will be four separate pages, namely, 1) Contact Details; 2) Shipping Details; 3) Shipping Method; and 4) Payment Method. On each of these pages, except for the last one, a Continue button will need to be clicked to go to the next page in the process.

The Checkout Options
What do you recommend as an ideal checkout process option?
For a more convenient customer experience, we recommend going with the 1-Step Checkout option. However, your choice here depends really on your processes.
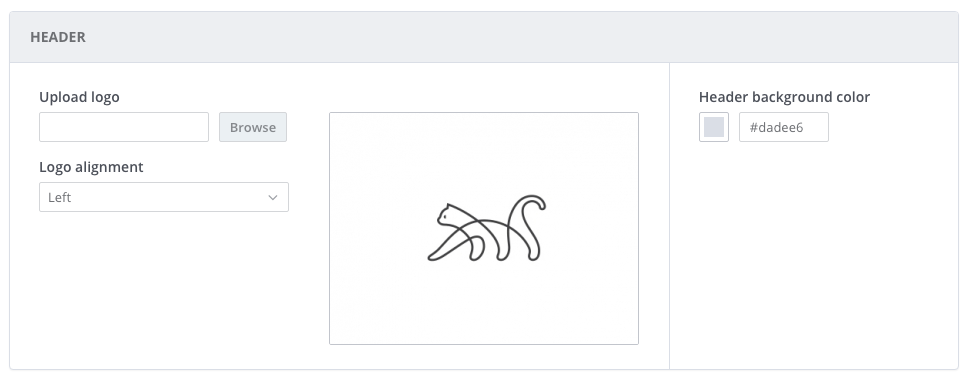
- On the next section is the Header box, which controls the header or logo shown on your Checkout Page. Upload your logo, then set the alignment to left, center, or right, then select a background color for the header via either color picker or color code.
What logo sizes are acceptable?
You can upload a logo image that gets resized to a maximum of 300 pixels in height, while maintaining the image ratio. Logo images smaller then 300 pixels will not get resized.

The Checkout Page Header
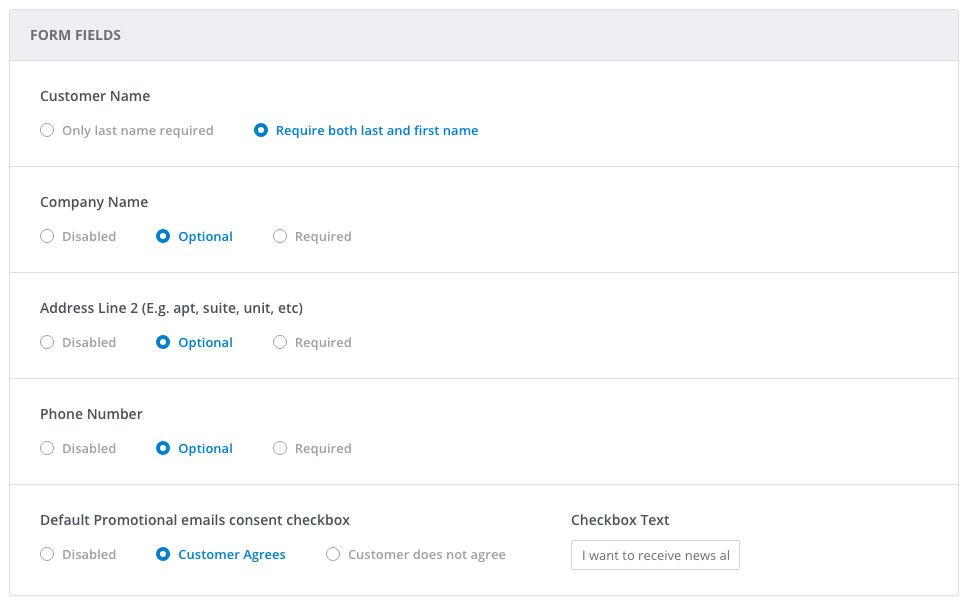
- On the Form Fields section, you can specify whether fields on your Checkout Page are required, optional, or disabled. These fields include customer name, company name, address line, telephone number, and a default promotional emails consent box.

Specifying Form Fields as Required or Optional
- On the Accounts section, you can enable or disable automatic creation of a customer account on your store upon checkout. Enabling this option means customers get accounts automatically created for them, with login info emailed to their specified email addresses, upon checkout.
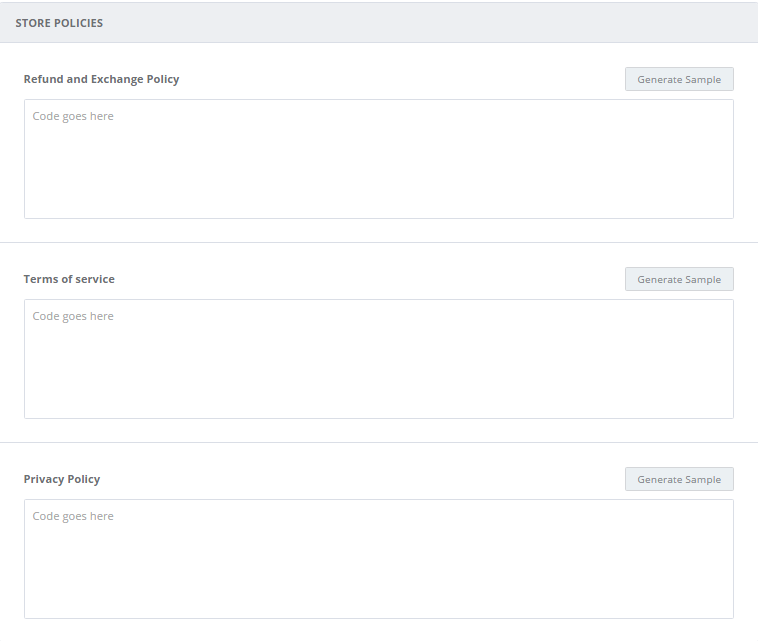
- On the Store Policies section, you can enter your Refund, Exchange, and Privacy policies, as well as your Terms of Service.

The Store Policies section
- Click Save.
Where are the store policies shown in my store?
Links to your policies are provided as footers on the Checkout Page.
To Generate Sample Text for Store Policies
CommerceHQ provides sample text for your store policies that you can use as your own, if you want.
- On your Admin panel, click Store setup>Checkout page.
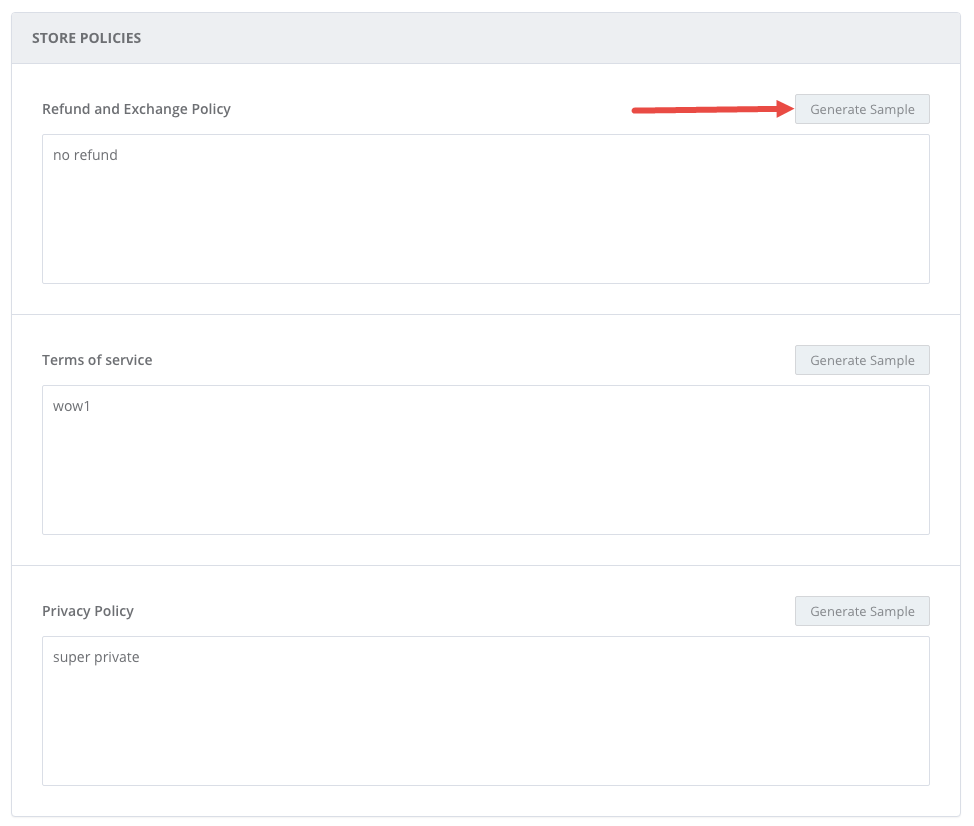
- On the Store Policies section, click the Generate Sample button to the top right of each store policy type.

Click the Generate Sample button to the top right of each policy
Updated over 6 years ago
