General settings
The purpose of this page it to give you easy access to a wealth of store related settings.
Accessing General Settings
To access the settings page follow the steps below:
1. From the dashboard click Store setup

2. Then click General Settings
The General settings page displays. This page is broken down into a number of regions.
General Settings Explained
Store Information
Store name: This is the store name you selected when you setup your store. This is used in a number of different places such as the dropdown at the top right in the header with the avatar.
Email address: This is the "From" email that will be used when sending all emails from your store store to customers
Default currency: This is the default currency for the stores payment processing. Once store setup is initiated this field becomes read-only and can't be changed.

Password Protection
When this featured is turned on with the toggle switch in the title you are able to password protect your entire store and keep it private, so that only people with the password can view it.

Standards & Format Presets
Unit system: This controls what options are available in the default weight unit dropdown.
Default weight unit: This is a preset that is used by other pages such as 'Add a product', where you can set the product weight.
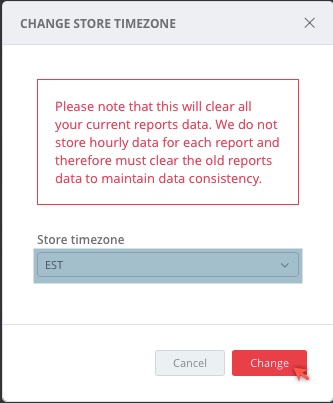
Timezone: This controls the date and the time stamps for everything in the store. (For example order dates and times, etc)

Edit Timezone
Once you initially set the timezone in store setup you will notice an Edit hyperlink becomes available. You can use this to edit the time zone of a store by following the steps below.
1. Click on Timezone Edit
2. Confirm that all previous report data will be cleared when a new timezone is selected.
3. Click Change

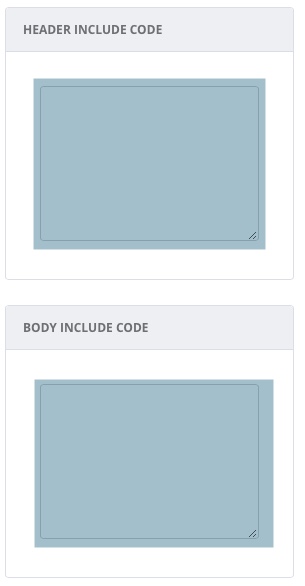
Header Include Code / Body Include Code
DL: Can I please get a definition for these fields.

Order ID Format
This allows you to setup a Prefix or a Suffix for order numbers.
By default all new stores start with order number 1000 and have the prefix #.
Upon save you will have the option to apply the new order ID format to all new orders, or apply it retrospectively to ALL orders.

Delete Store
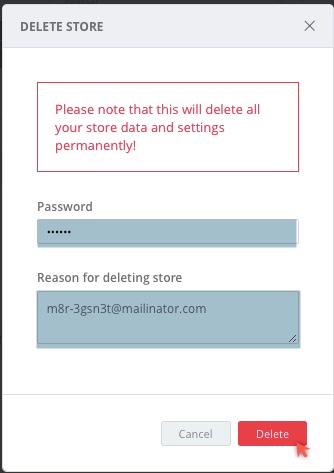
To delete a previously created store follow the steps below:
1. From the General setting page click Delete Store

The DELETE STORE page displays.

2. Enter your Password
3. Enter the Reason for deleting account
4. Click Delete
Updated almost 7 years ago
